


Manufacturing Process
Step 1 Choosing and Confirming
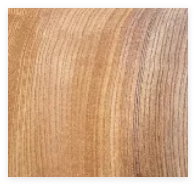
In this step, our workers will go to the wood warehouse to select high-quality wood materials with clear texture according to the wood type, shape, size and color you need.To match the resin color and wood color, as well as their final presentation effect you specified.
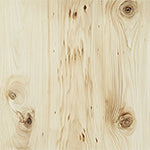
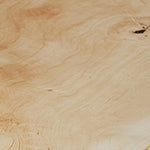
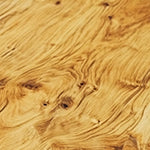
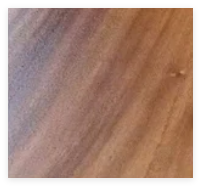
Wood Type


Surface Finish
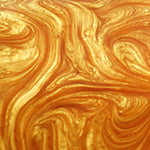
Resin Color


Step 2 Cleaning the Wood
The wood will be smoother after cleaning, and its surface will be slightly different from the original one and the impurities also will be removed.
Step 3 Cutting the Wood
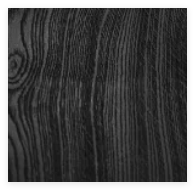
We’ll base on the shape you required to cutting the original wood edge, in order to make the effect better, the edges will generally be burnt black. Please note that if there are no special requirements, see the original wood as the standard.
Step 4 Applying Resin
For fixing the bacteria and dust, reducing the little bubbles, it’s better to apply a layer of resin.
Step 5 Finalizing the Width and Shape
According the sizes you required, we'll use a model to assure the width and length fixed the size you want, then put the wood board or wood blocks on the model to make the outlook you asked for.
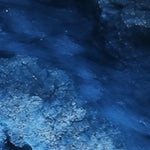
Step 6 Color Making
We'll adjust the color of the resin in this step, stir it, and use a vacuum machine to force small bubbles out of the resin, this step will take about 30-60 minutes.
Step 7 Pouring Resin
When pouring the resin, large bubbles will appear from time to time. At this time, we will use a torch to eliminate the large bubbles. Using fire to bake the resin before it dries can reduce the generation of small bubbles.This is done for each layer of resin poured. The number of layers of resin depends on the specific thickness requirements. Generally, it is 3-5 layers. The number of layers of resin for the wave layer effect will be more.
Step 8 Releasing the Resin Film
It takes about 2 days for a layer of resin to solidify, and the last layer of resin takes the longest time to solidify. After the solidification, the resin film can be released.
Step 9 Wood Sanding
It’s necessary to smooth off excess wood chips on the surface of the board. When the finished product is about to be finished, we will use a 2.5cm standard punching machine to punch holes at the location you specified.
Step 10 Washing the Color
After the wood is smoothed, we wash it with a thinner to make the color more vivid and clear, and then apply anti-slip paint for five or six times, the last time need to complete in the dust-free workshop to avoid dust adhesion.
Step 11 Checking
Checking the whole board to find if there is a lacking place need to be filled the resin again.
Step 12 Finishing confirmation and Packing
This is the last step. Before packing, we’ll put the finished board to the outdoor with clearly natural light to take photos, and let you check the finished product is no problem. The packing way is one layer of pearl cotton + one layer of cloth + one layer of cardboard + cloth strips for edging + wooden frame.